Enterprise Network Setup with Windows Server
A step-by-step guide to setting up an enterprise-level network environment using Hyper-V, Windows 10, and Windows Server 2022. Includes AD domain setup, DHCP, DFS, PowerShell automation, and more.
View the Project on GitHub hexwarrior6/Enterprise-Network-Setup-with-Windows-Server
Chapter 3: Configuring the DHCP Server
In this chapter, we will configure the DHCP service to automatically assign IP addresses to clients and implement DHCP failover, simplifying network management and enabling a highly available network environment.
Install the DHCP Role
-
Open
Server Manageron DC01
ClickManage->Add Roles and Featuresfrom the top menu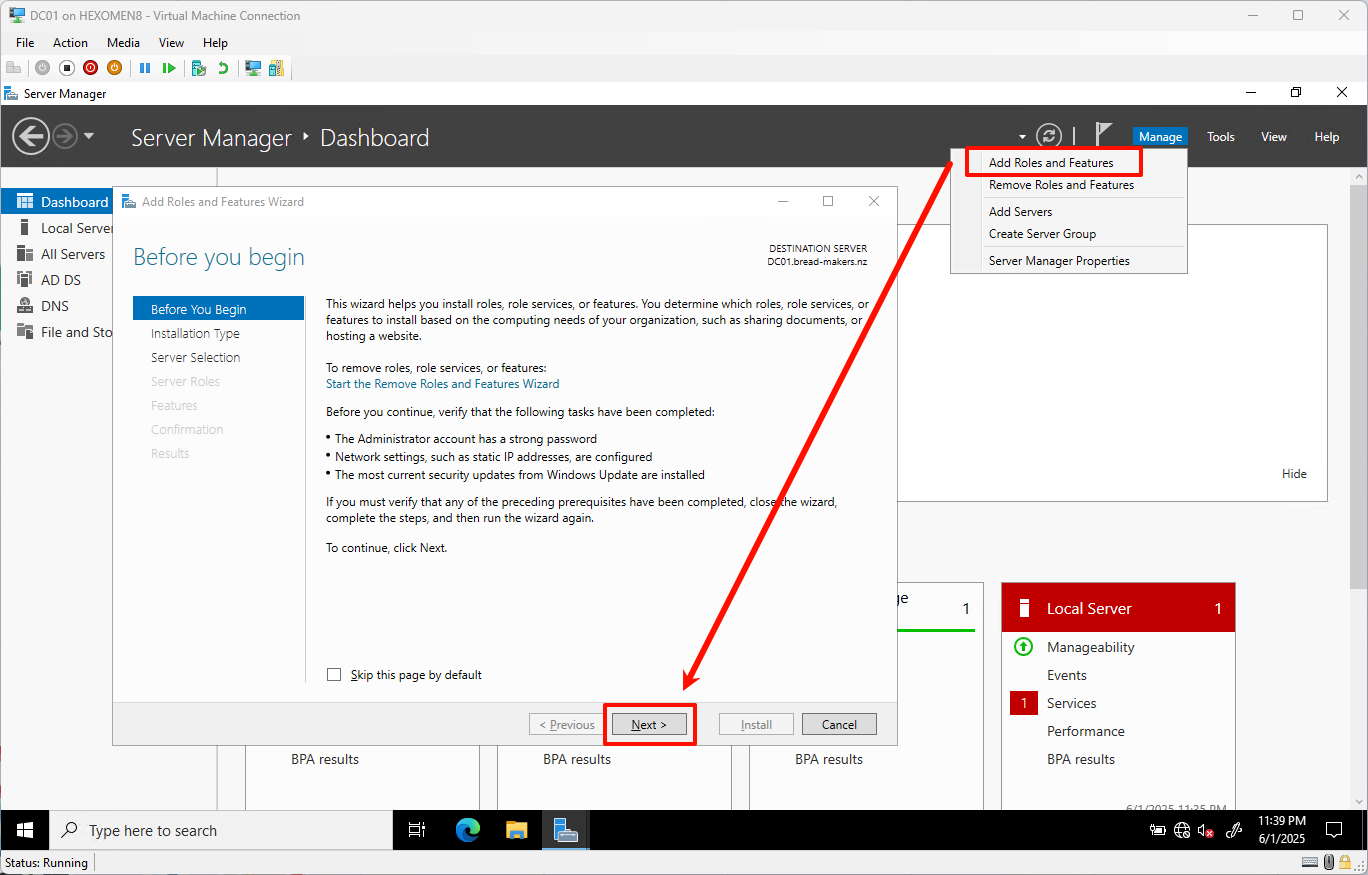
-
In the Add Roles and Features Wizard, select
Server Rolesfrom the left menu and checkDHCP Server.
When prompted, clickAdd Features, then continue clickingNext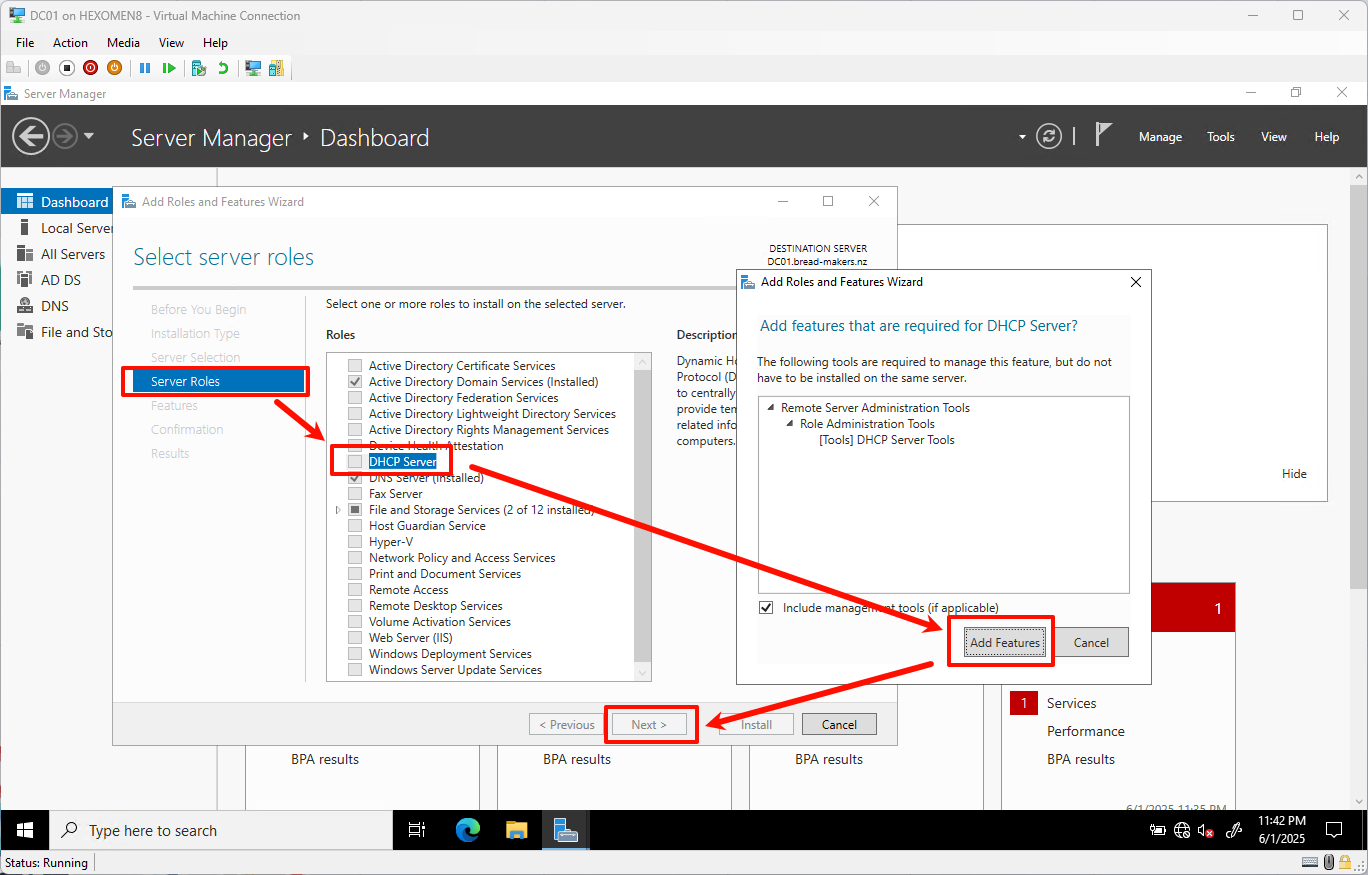
-
On the confirmation page, click
Installto begin installing the DHCP role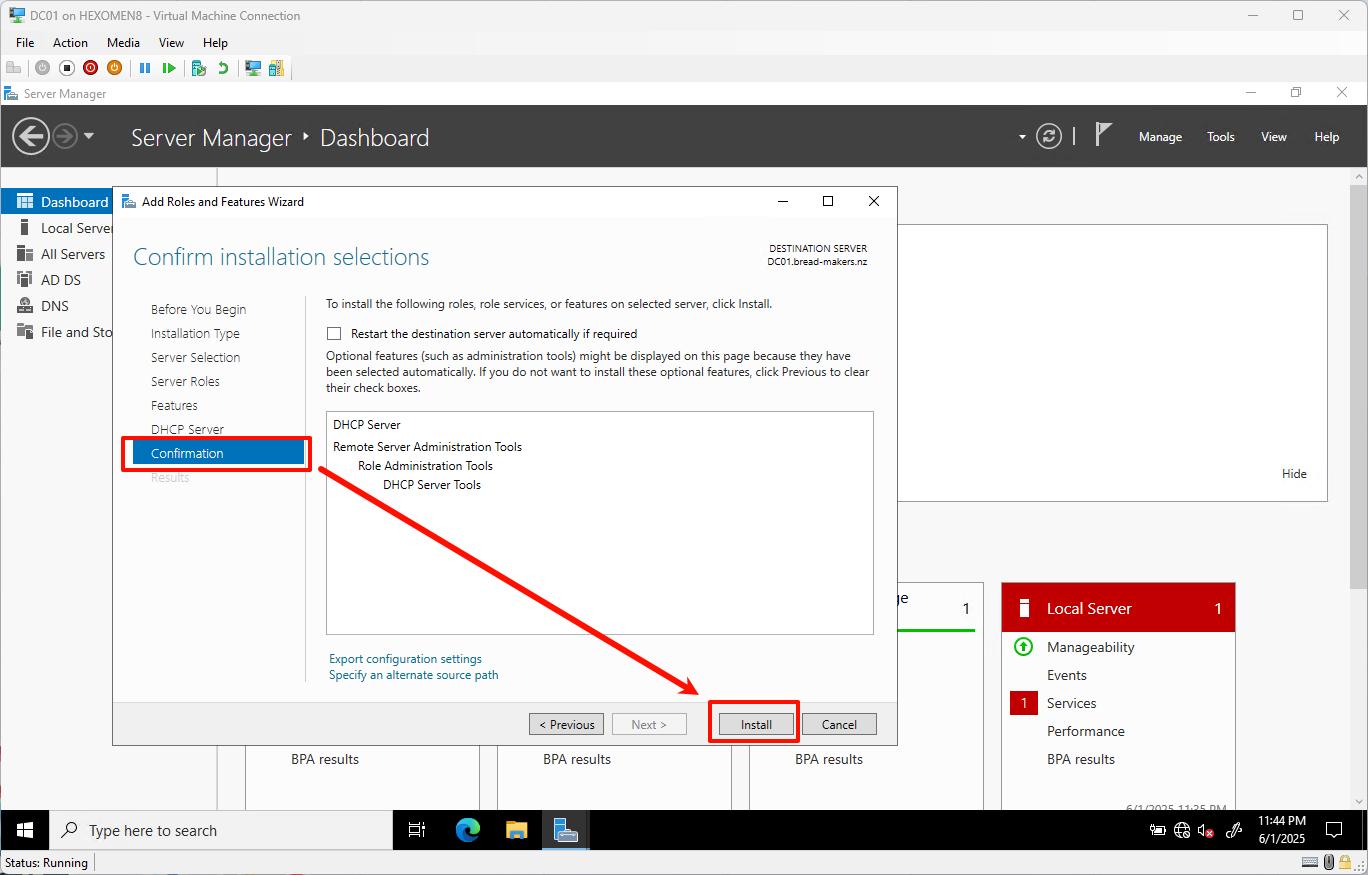
-
After installation completes, click
Complete DHCP Configurationto continue with post-install setup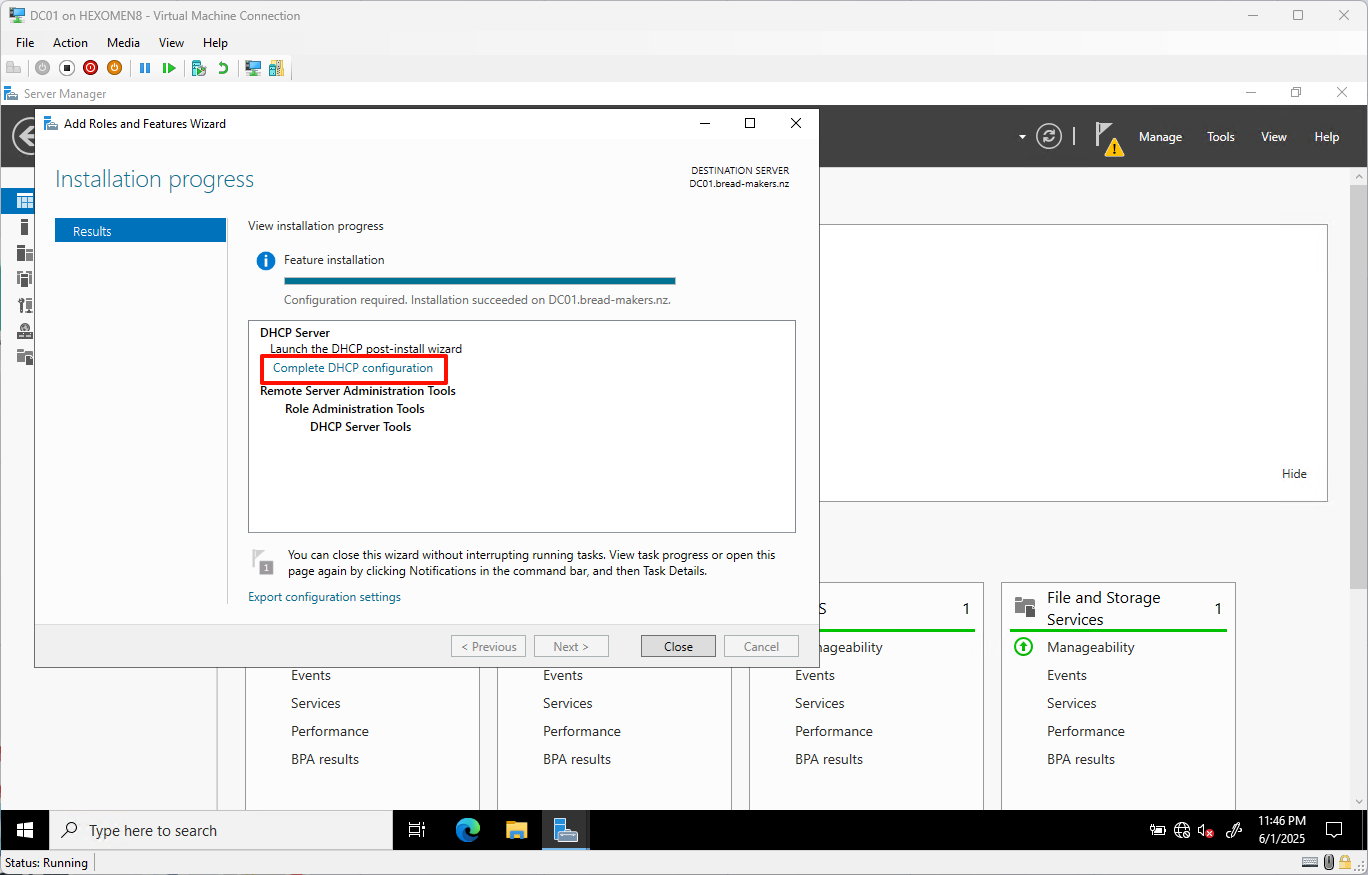
Configure the DHCP Server
-
On the
DHCP Configuration Wizardpage, clickNext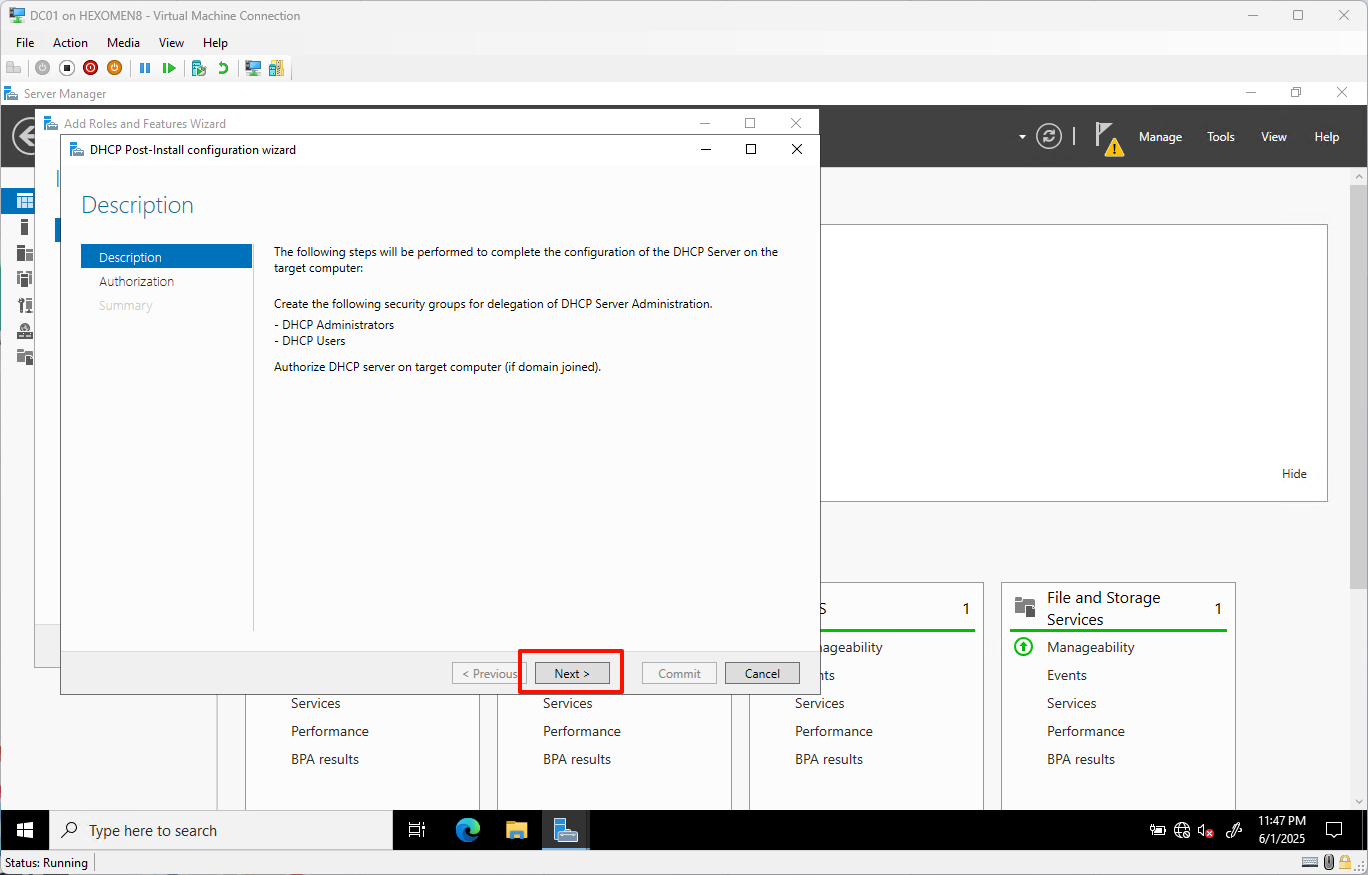
-
Leave settings as default and click
Committo complete basic configuration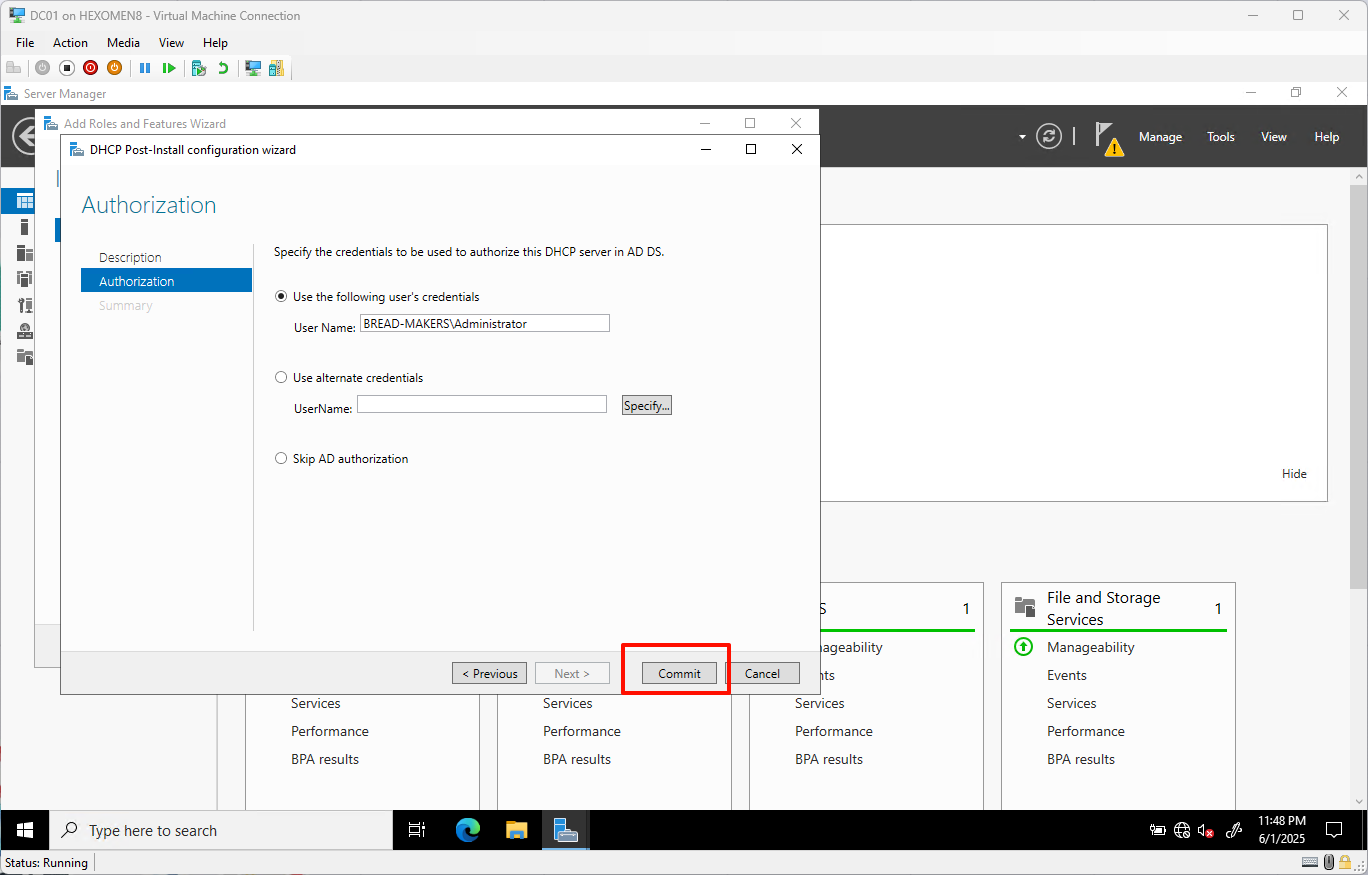
-
After configuration, click
Closeto proceed to the next step
Configure Primary DHCP Scope (DC01)
-
From the server console, open
Tools->DHCP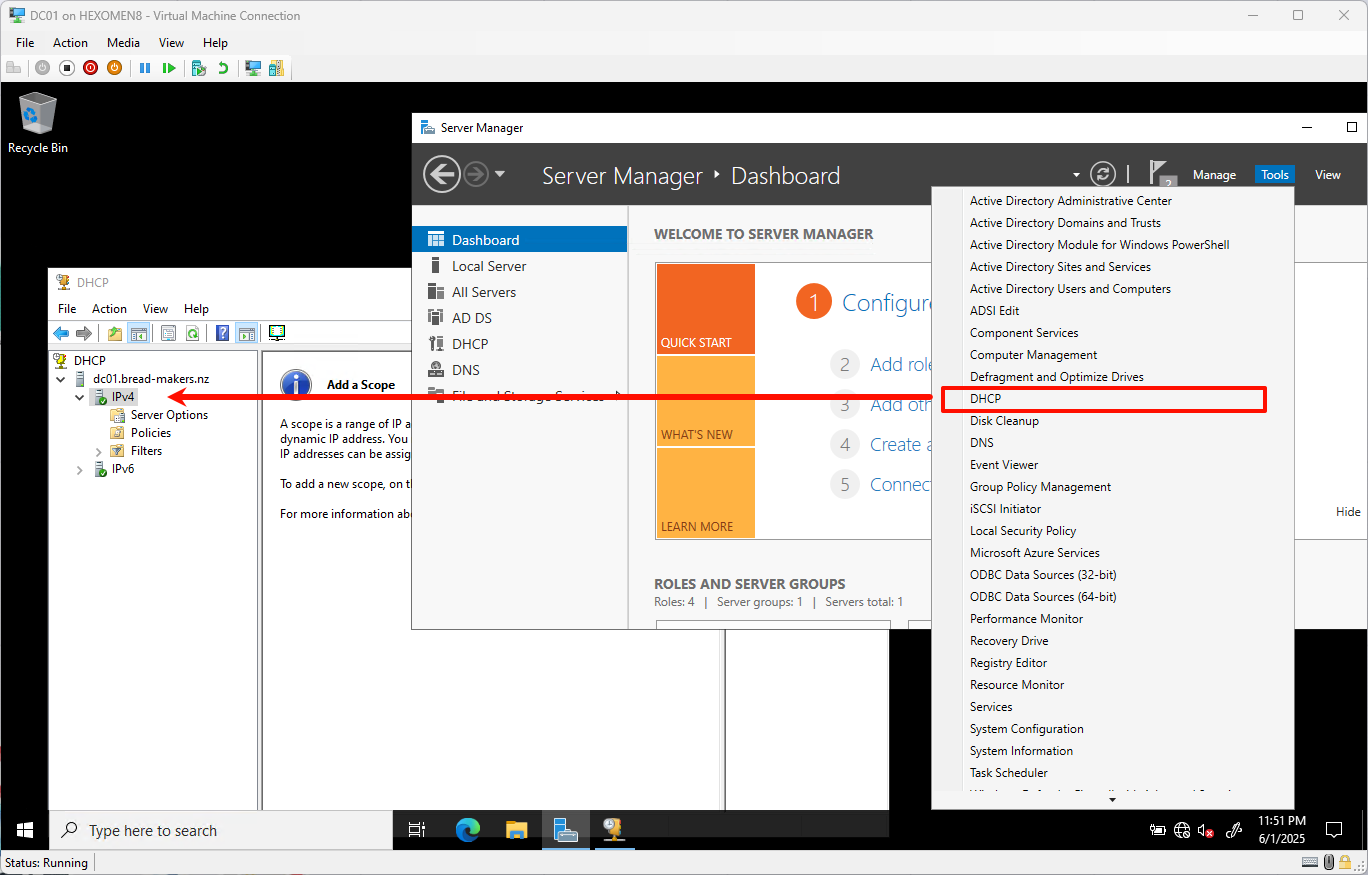
-
Right-click on
IPv4and selectNew Scopeto open the New Scope Wizard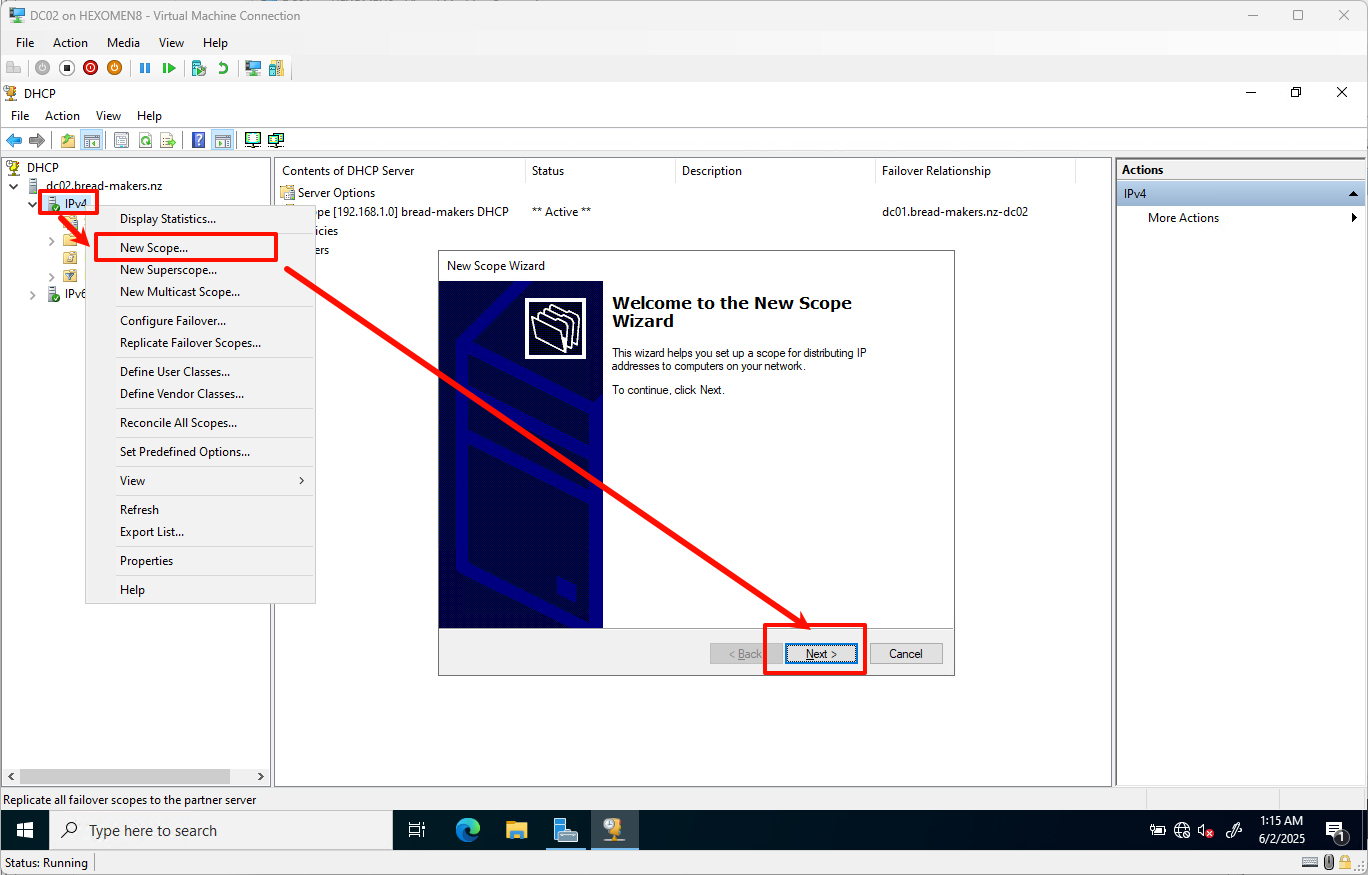
-
Enter a scope name such as
bread-makers DHCP, then clickNext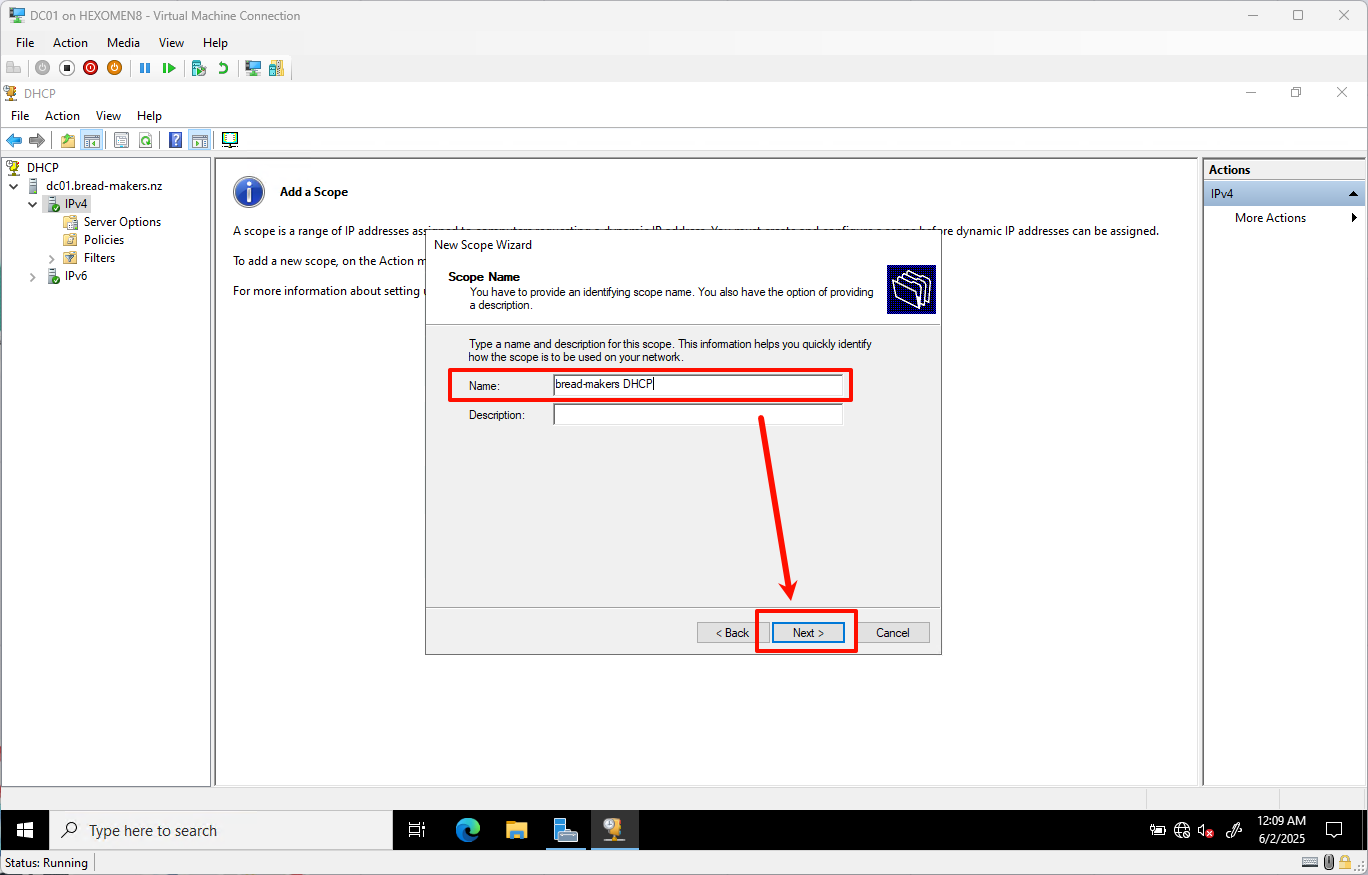
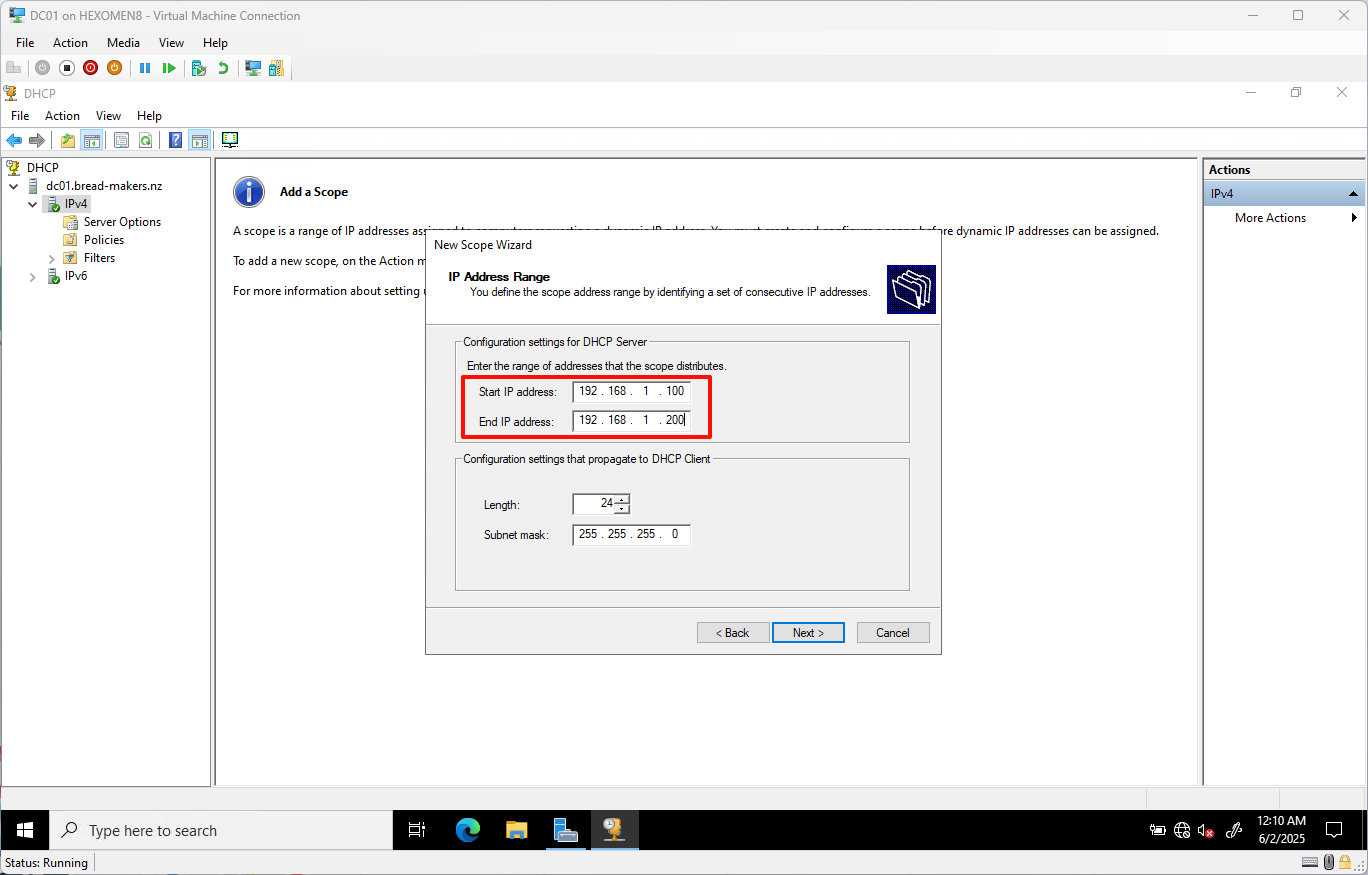
- Set the IP address range:
- Start IP:
192.168.1.100 - End IP:
192.168.1.200
ClickNext
- Start IP:
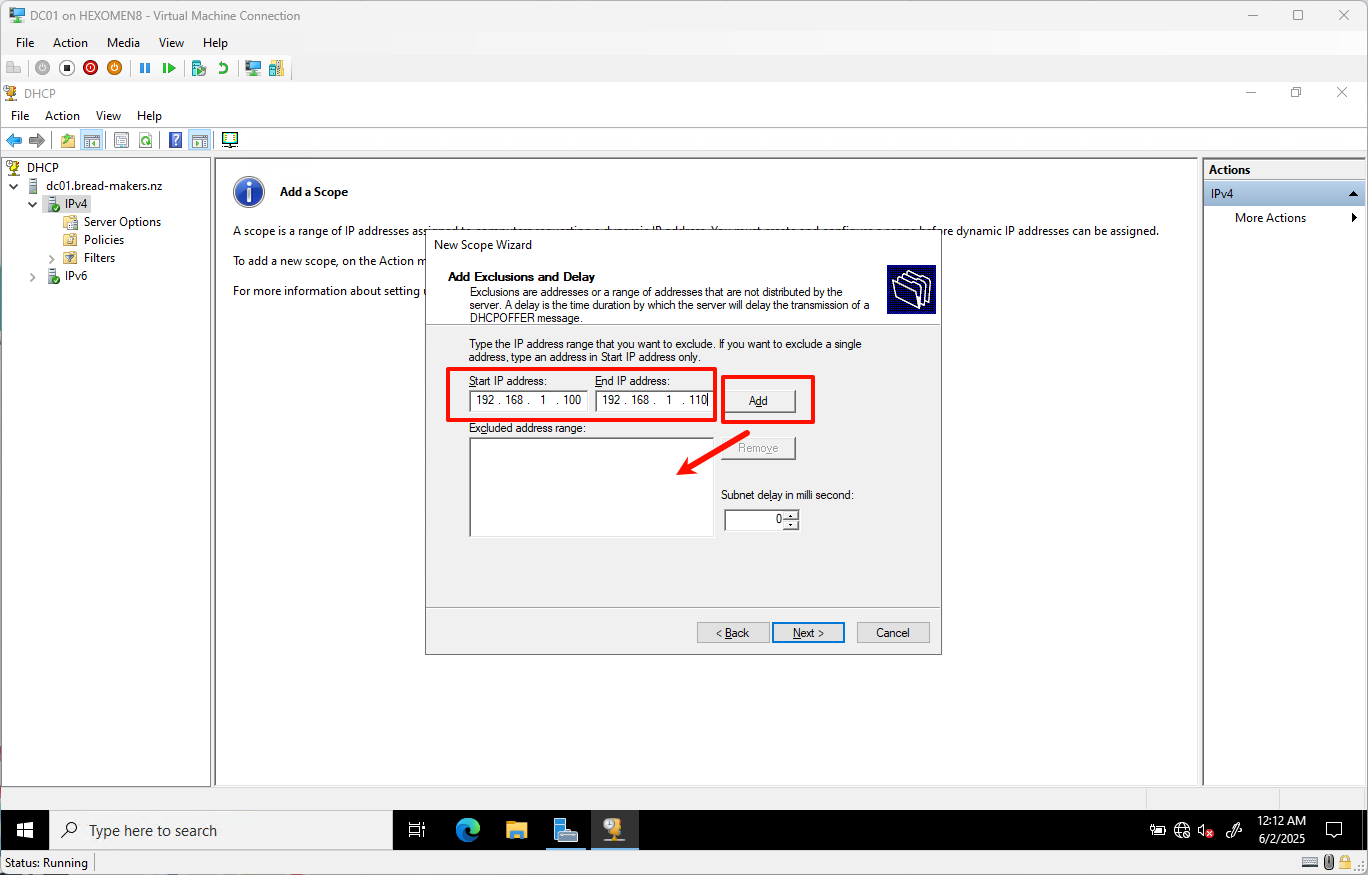
- Set the exclusion range:
- Start IP:
192.168.1.100 - End IP:
192.168.1.110
(This range is reserved for servers and other static devices)
ClickAddto include it in exclusions, then clickNext
- Start IP:
-
Keep the lease duration at the default (8 hours), click
Next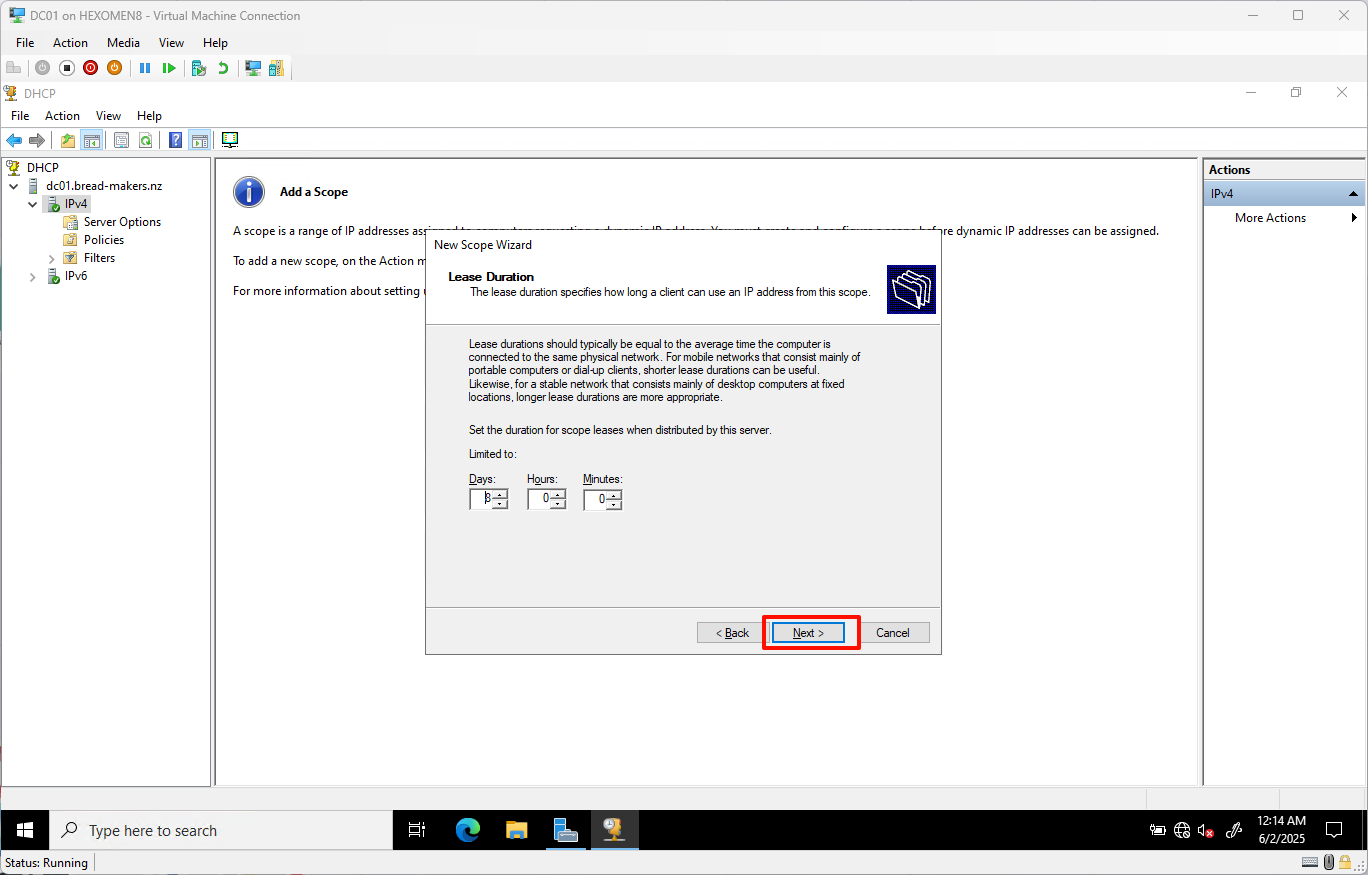
-
Choose whether to configure DHCP options now – click
Next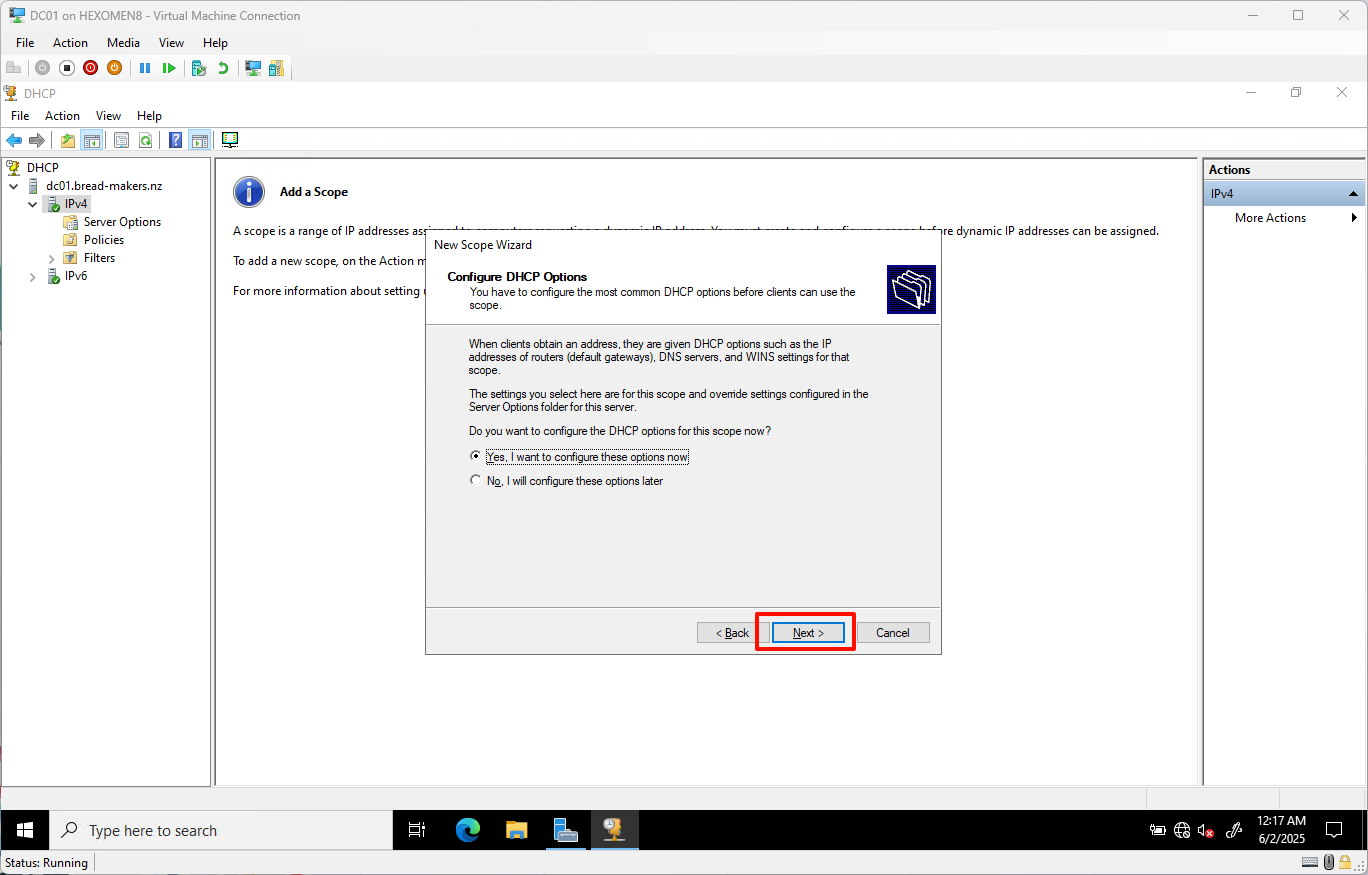
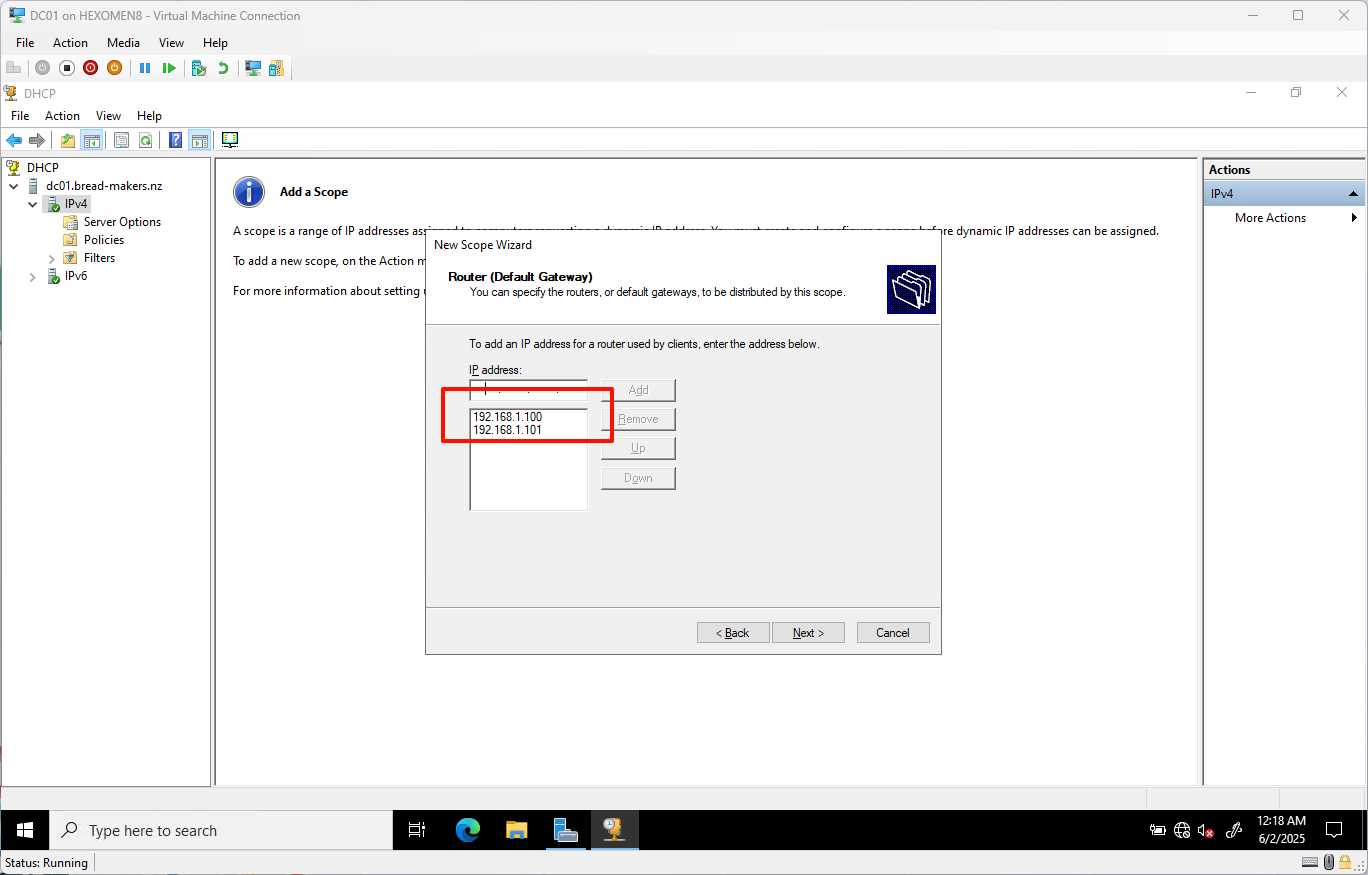
- Set the router (default gateway):
- Add both domain controller IPs as default gateways:
192.168.1.100(DC01)192.168.1.101(DC02)
ClickNext
- Add both domain controller IPs as default gateways:
-
Keep the domain name and DNS server settings as default, click
Next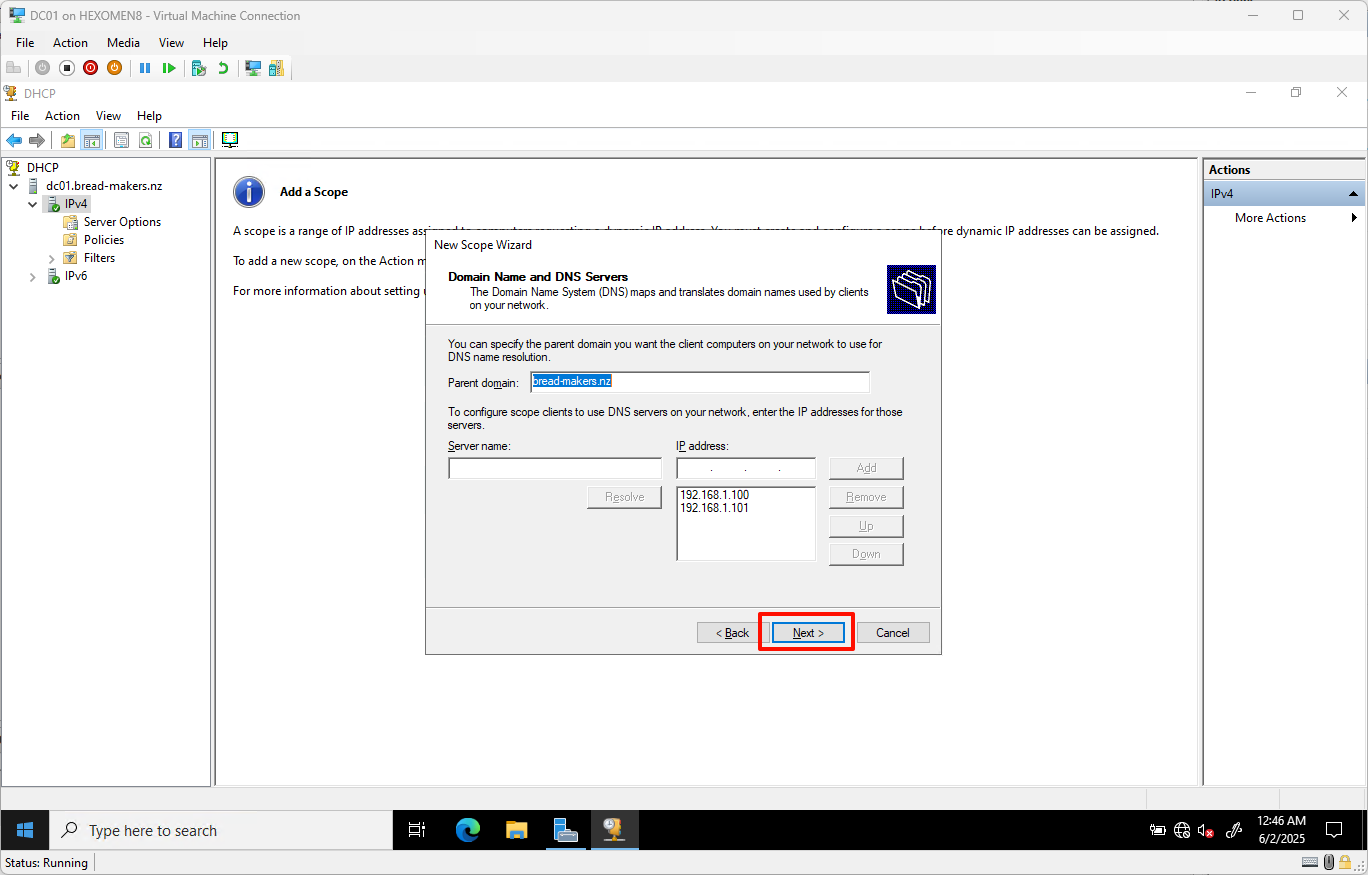
-
Keep WINS server settings as default, click
Next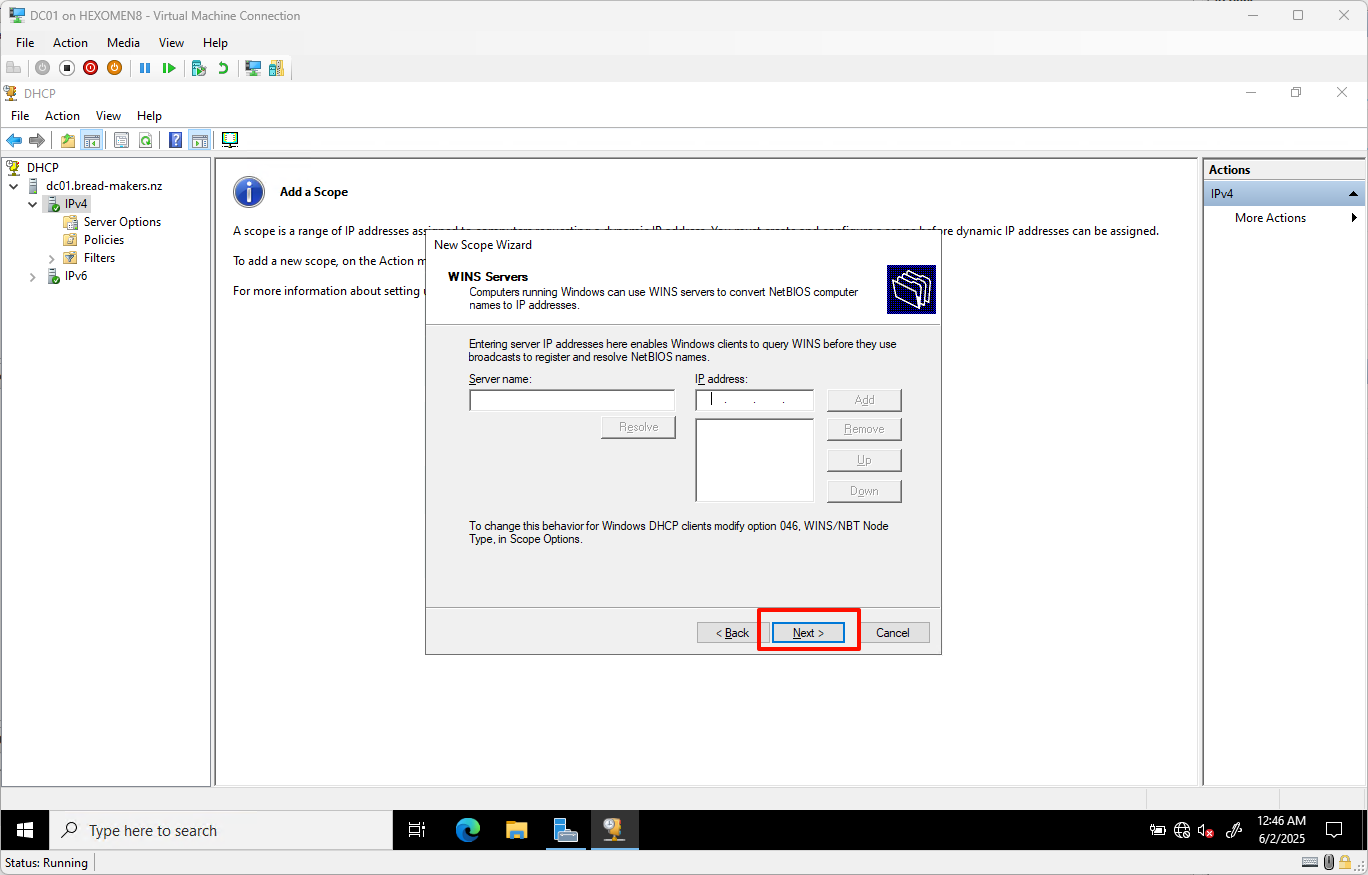
-
Select to activate the DHCP scope, click
Next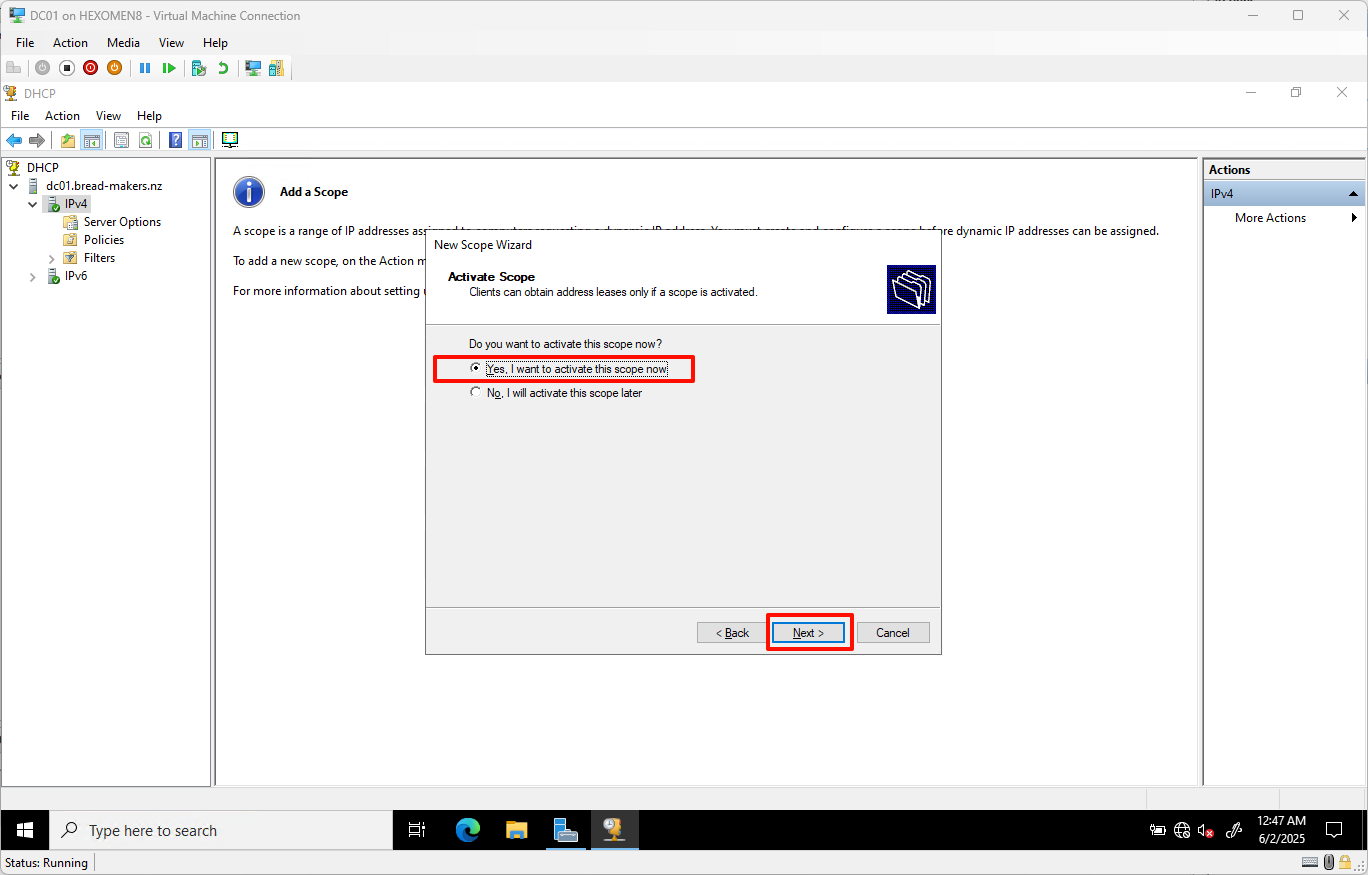
-
The wizard is complete – click
Finishto finish configuration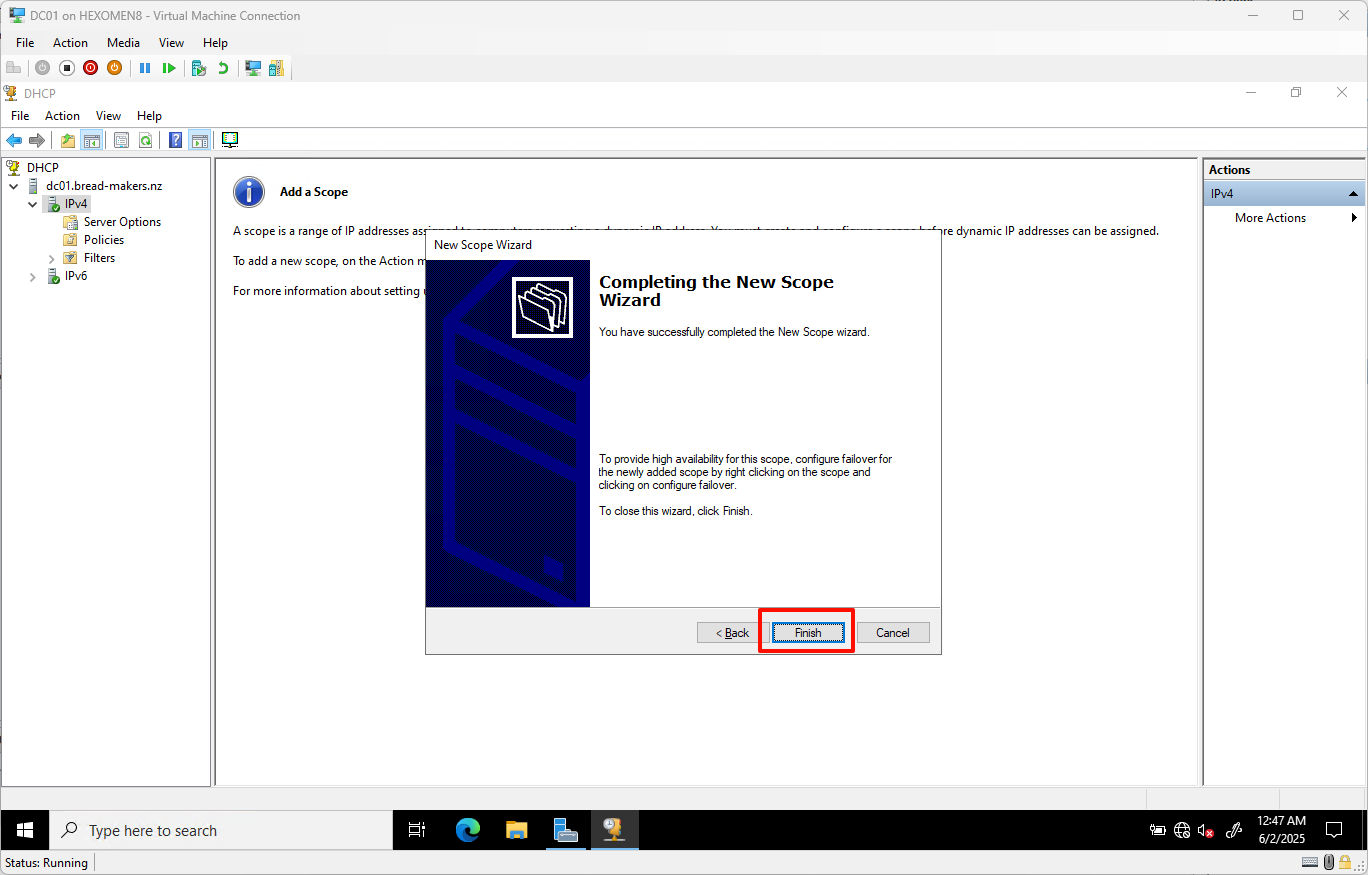
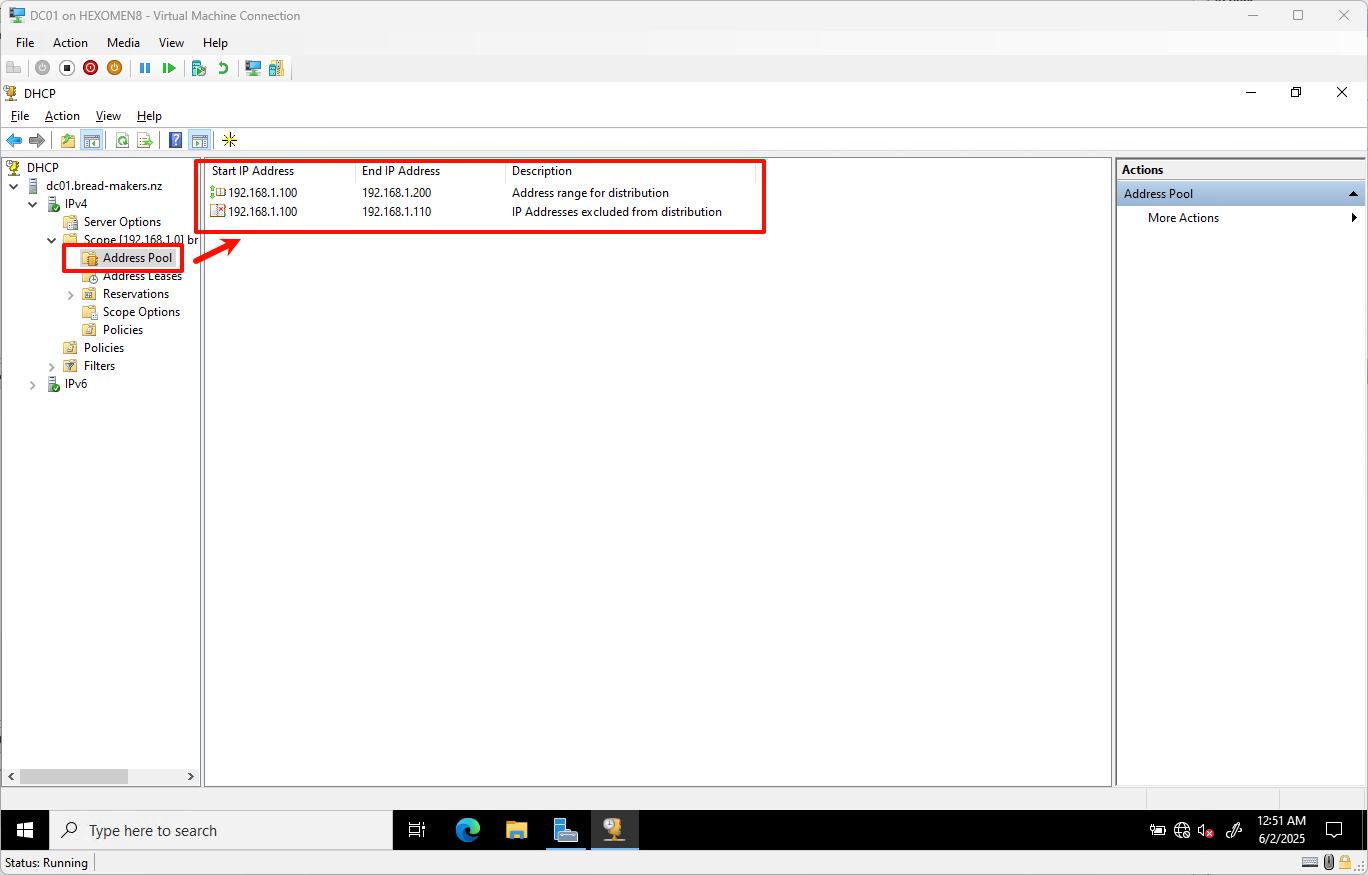
✅ Verification Step:
In the DHCP management interface, expand bread-makers DHCP -> Address Pool. You should see the successfully created IP range: 192.168.1.100 - 192.168.1.200.
Configure DHCP Failover (DC01)
Before completing this section, ensure that the DHCP server role has already been installed on DC02. Refer to the earlier steps:
-
On DC01, open
Tools->DHCP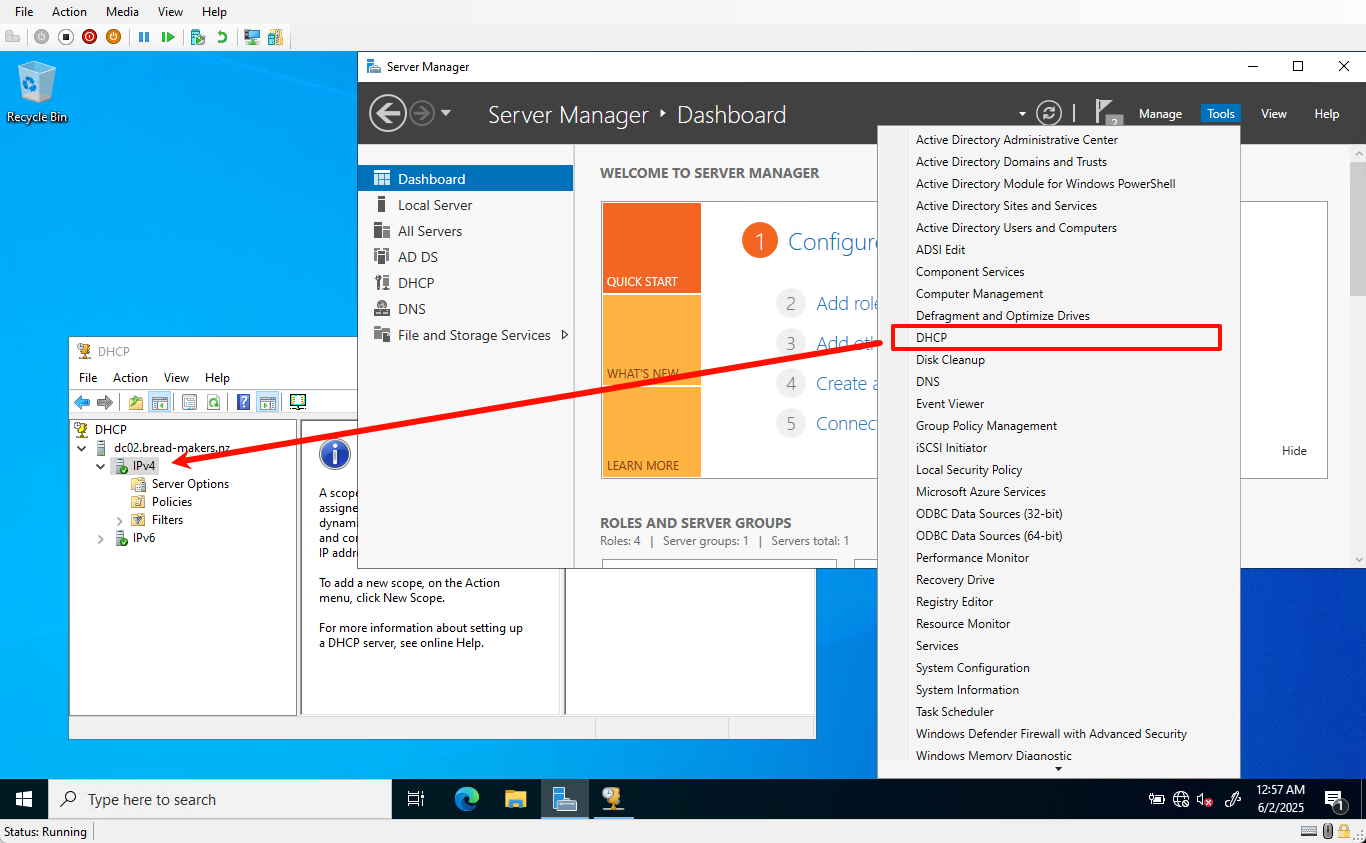
-
Right-click on
IPv4and selectConfigure Failoverto open the Configure Failover Wizard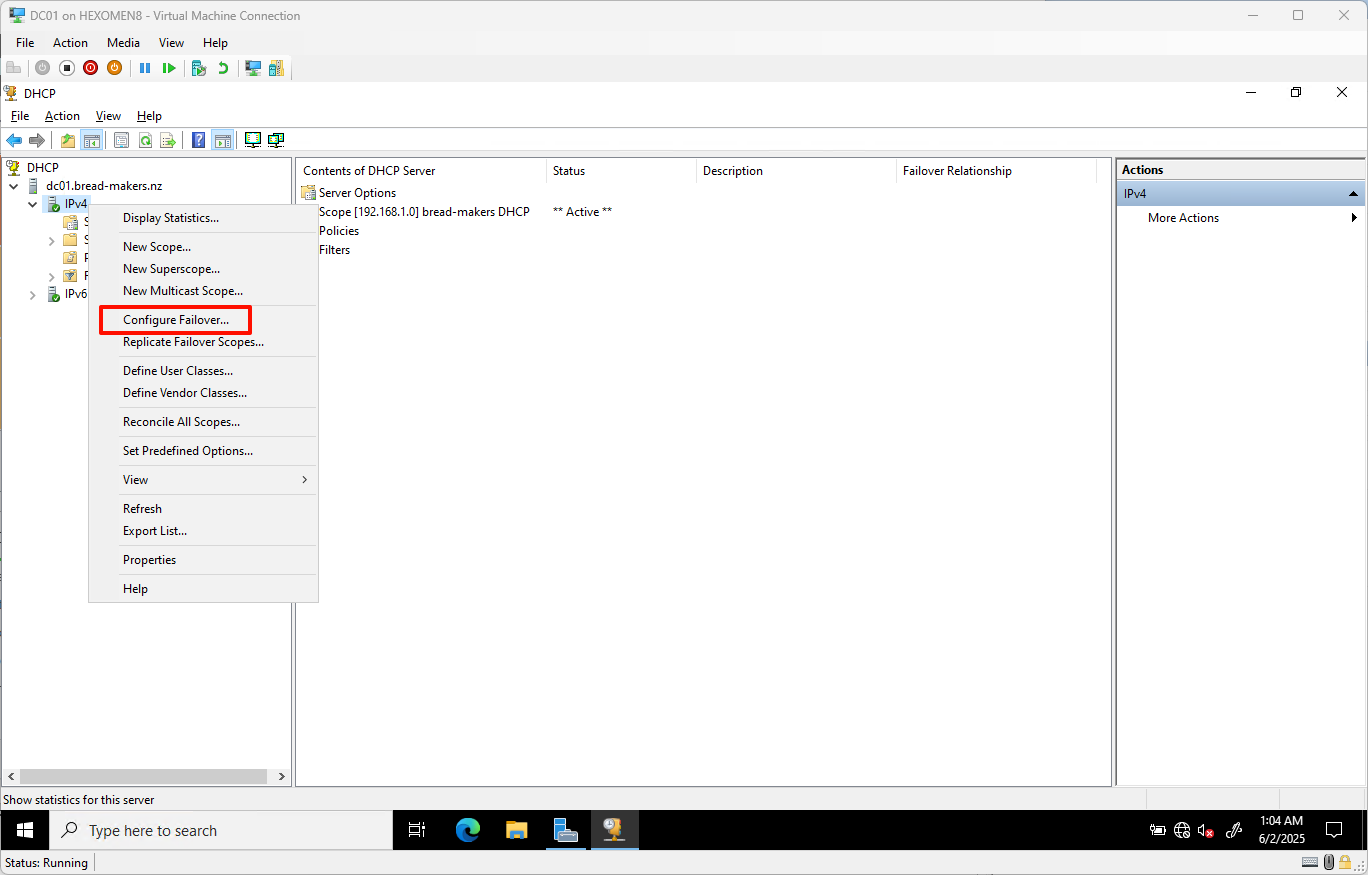
-
Since there’s only one DHCP scope currently, it will be selected automatically – click
Next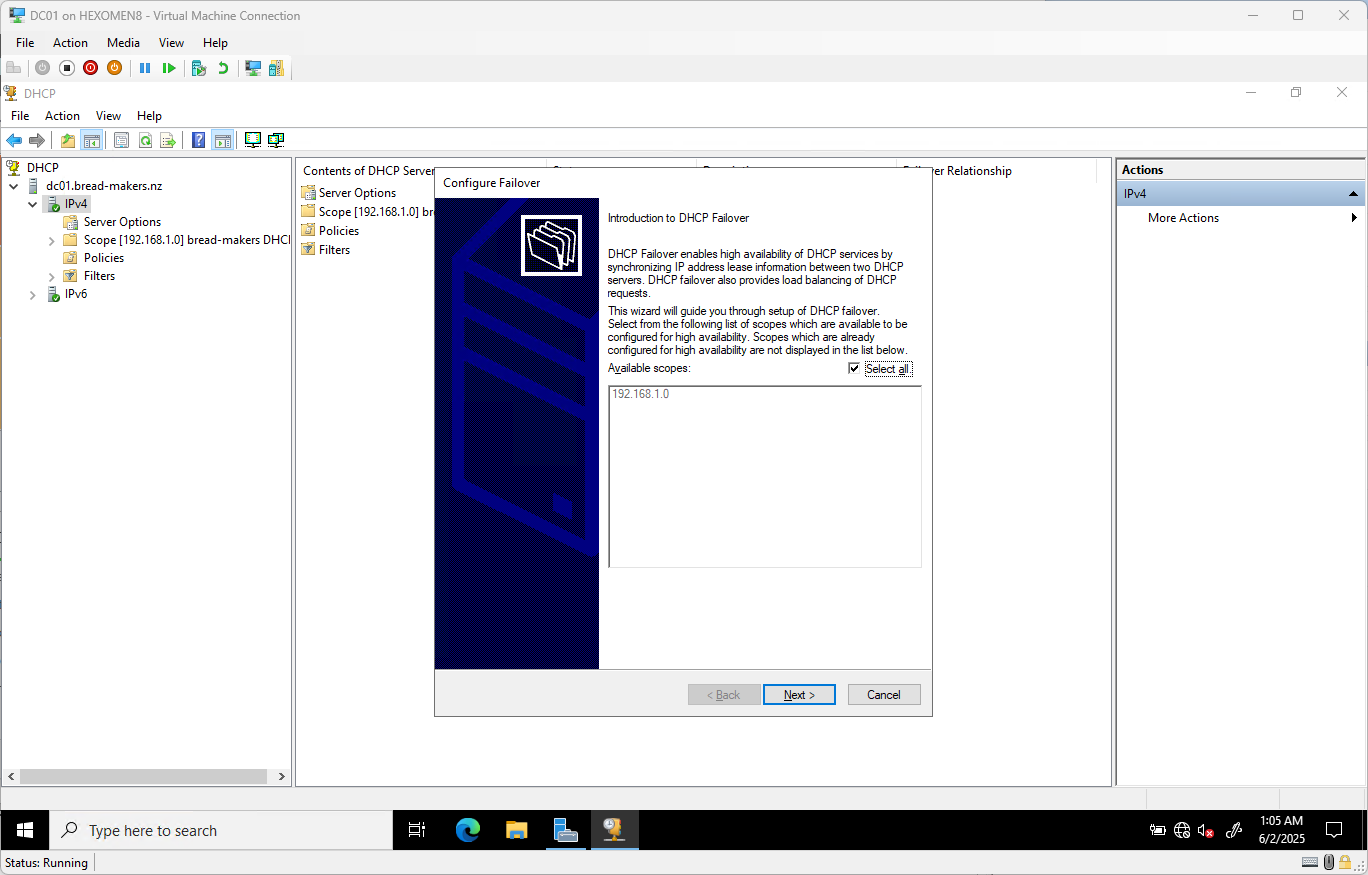
-
On the “Select Partner Server” page, click
Add Server->Browse, and enterDC02
ClickCheckto verify all tabs are green, then clickNext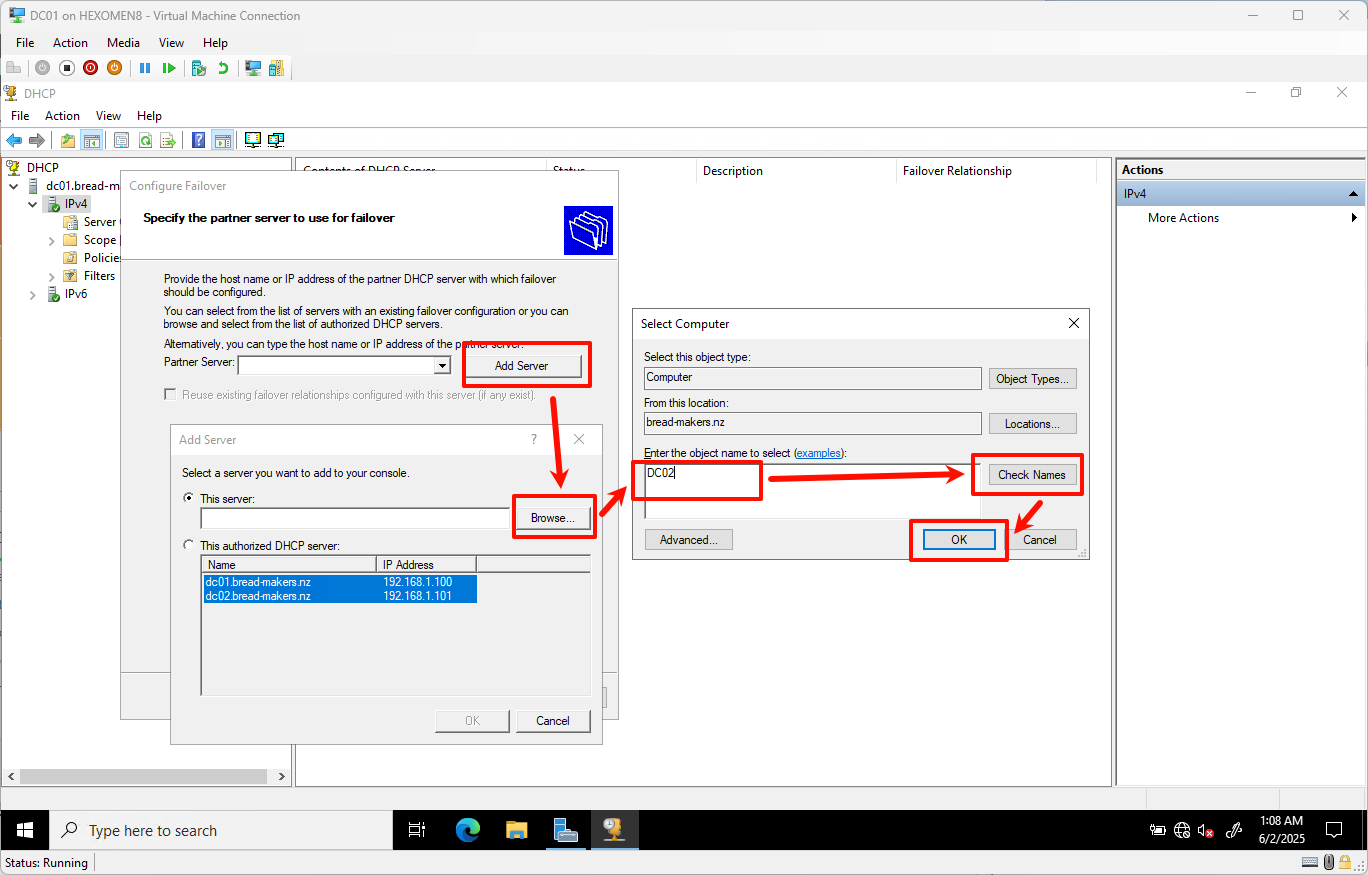
-
Set a shared secret (recommended to use a strong password) for secure communication, then click
Next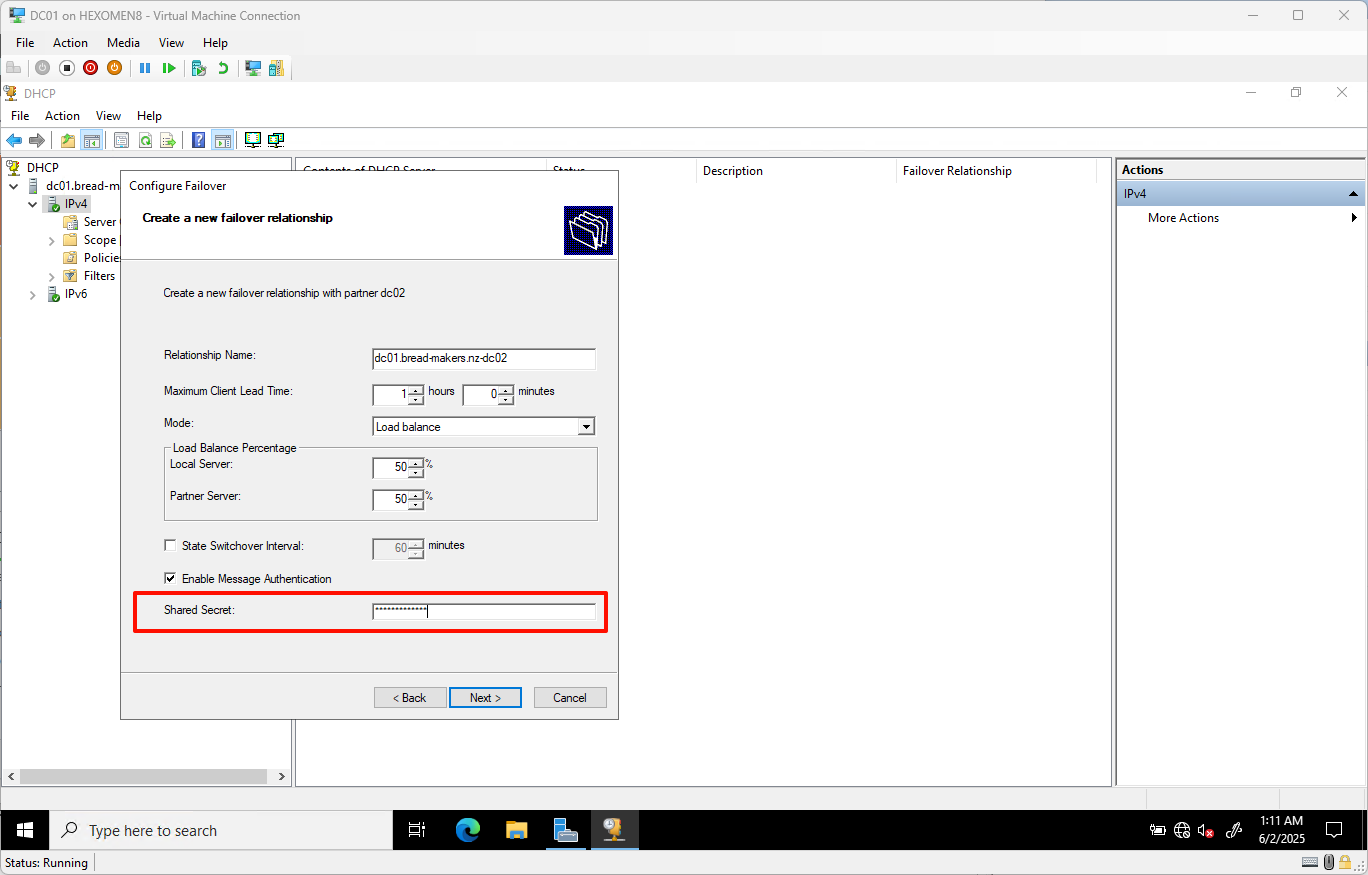
-
Review the configuration summary and click
Finishto complete the wizard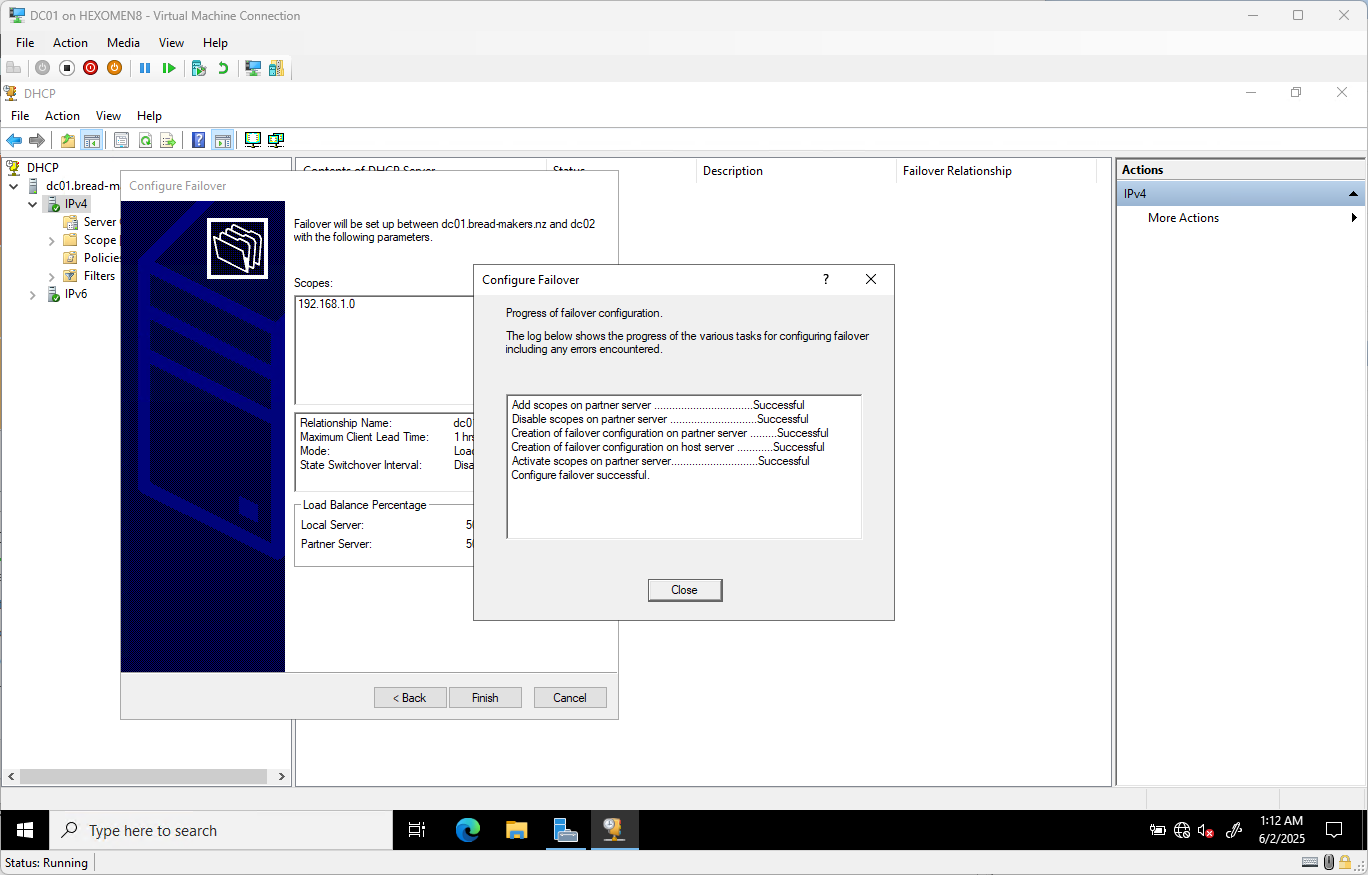
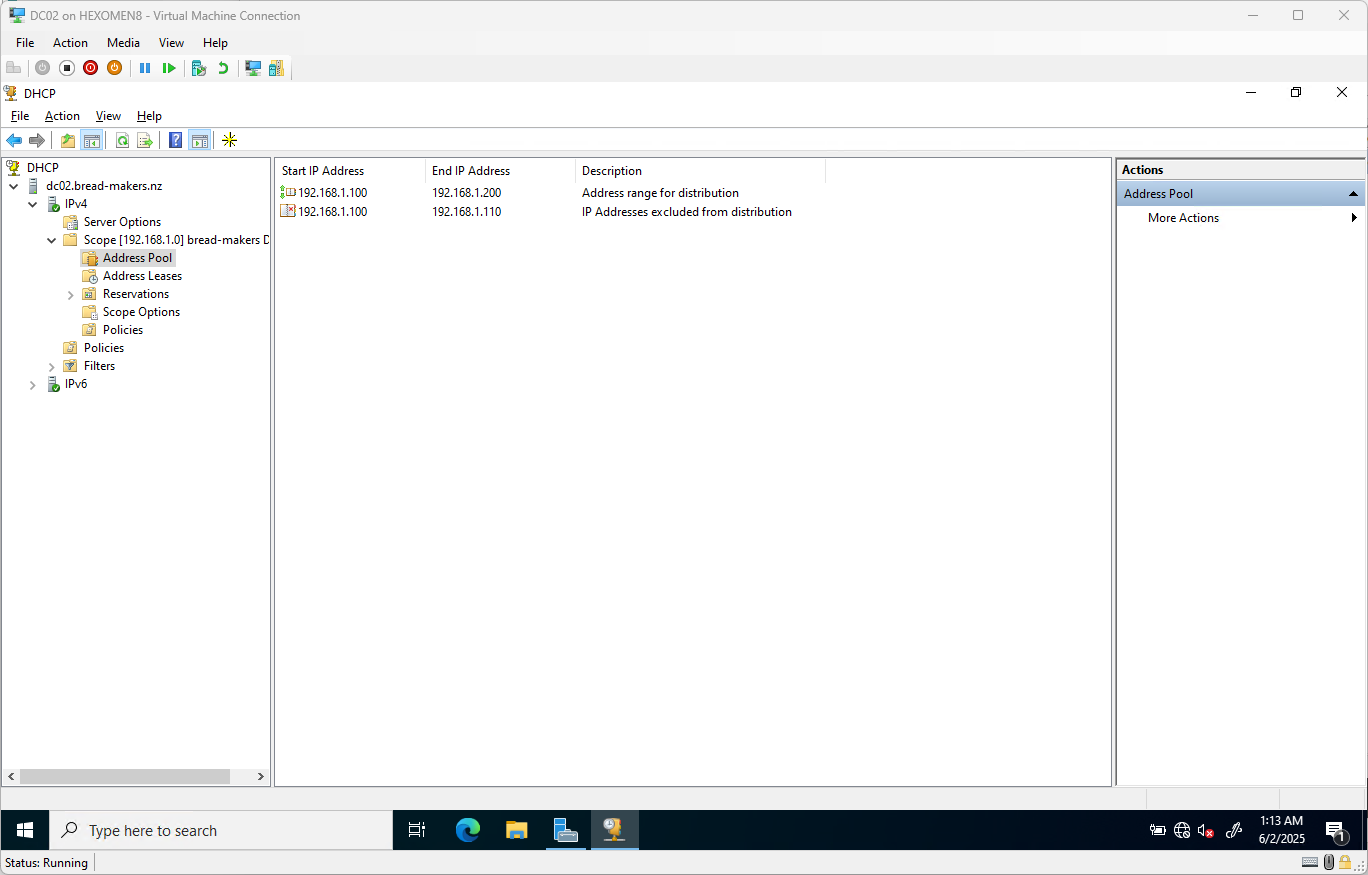
✅ Verification Step:
On DC02, open the DHCP manager and expand bread-makers DHCP -> Address Pool. You should see the synchronized IP range 192.168.1.100 - 192.168.1.200, confirming that failover has been successfully configured.
Summary
In this chapter, we completed the following tasks:
- Installed and configured the DHCP server on DC01
- Created a DHCP scope with an IP pool and exclusion range
- Set up DHCP failover on DC02 to achieve high availability
In the next chapter, we will explore how to set up DFS (Distributed File System) to enable enterprise-level file sharing and storage management.